Welcome back to my series on securing privileged access. In this post, I’m going to walk you through five basic concepts which will allow you to keep your identity secure when using Azure AD. If you missed part one on building your PAM strategy, head over here to learn about the rationale and mentality behind securing privileged access and why it should be part of your cybersecurity strategy.
1. Azure AD Groups
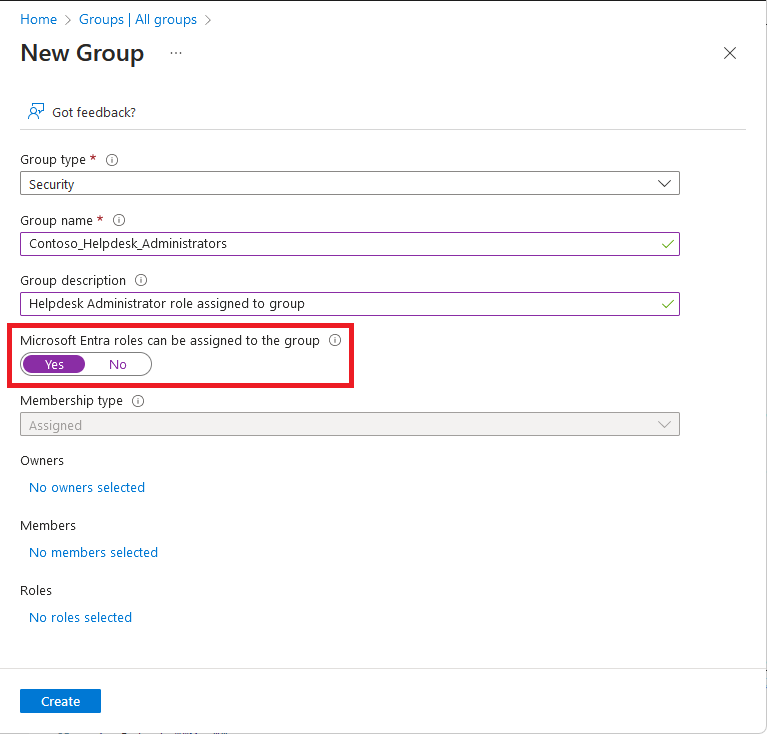
This might seem a bit simple, but if you’re not using group assignments wherever possible, you’re doing something wrong. Assigning applications, roles, resources and service ownership to a group makes everything easier when building a privileged access deployment. If you’re starting out, this is fairly easy to implement. If you’re already using Azure AD, an afternoon is all you need to convert the majority of role assignments to groups for Azure AD (Your Milage May Vary for Azure IAM!).
When Assigning, develop role and access groups with the following mantra in your mind
Mutually Exclusive, Collectively Exhaustive. (MECE)
This mantra will help you to nest groups together, in a fashion that ensures your administrators have access to all the services they need. Take a help desk admin as an example. Assign a group to Helpdesk Administrator, Global Reader and Teams Communications Support Engineer. Nest the “Helpdesk Admin Users” within each . As separate access assignments, these access groups are mutually exclusive. Once nested to a group, these become collectively exhaustive. As an added benefit, applying the above MECE process to role group assignment will make some Identity Governance activities like Segregation of Duty easier!
Pro Tip: Dynamic Groups are a great way to grant low privileged access to business services and minimise operational overhead. However, you need to be aware of lateral movement paths – If users can edit the attribute which the dynamic access is tied to, that is a method which may allow users to bypass your identity design.
2. Conditional Access (CA)
Easily the most effective identity security control for organisations to implement is Multi Factor Authentication. Microsoft has made no secret of its opinion with regard to MFA, even touting that MFA prevents 99.9% of identity based attacks.
In it’s most simple form, a Conditional access rule applies a set of logic to each sign-in which occurs against Azure AD. Combine conditional access with ubiquitous integration to Azure AD and you can secure a large number of applications with a single control.

If you’re wanting the fastest conditional access setup ever, apply the Multi-Factor Authentication sign in control to All Users, for All Applications on every sign-in.
While this would technically work, I wouldn’t recommend this approach and the reason is simple – It degrades trust in your MFA setup. As security practitioners, we know that our users will slowly grow accustomed to an enforced behaviour. If you setup Conditional access to prompt for MFA frequently without a clear scenario, you will very quickly find that MFA is almost useless, as users select accept for every MFA prompt they see without thought or consideration. If you don’t have time to configure Conditional Access, enable the Azure AD Secure Defaults.
A better approach to Conditional Access is to define your scenarios. In the case of Privileged Access, you have a few critical scenarios where Conditional Access configurations should be applied. These are:
- MFA Registration from outside your operating country. Block this. Hackers shouldn’t be able to enroll MFA tokens for breached accounts.
- Login for Azure, Azure AD and integrated SaaS admin accounts. Require MFA and secure endpoints for all sessions.
- High risk logins. Block all or most of these events. Require a password reset by another administrator.
3. Split administrative accounts
For the security aficionados reading this post, the “minimal blast radius” concept should be quite familiar. For those of you newer to security, this concept focuses on the idea that one small breach should be isolated by default and not cause one big breach.
The easiest way to do this for Privileged Access is to split up your key administrator accounts. One admin for Azure AD, one admin for Active Directory and one admin for your external SaaS applications. A prominent example of this control not being applied recently, was the Solorigate attacks against Solarwinds customers. In this attack chain, an on-premise breach was used to compromise cloud administrator accounts using forged ADFS tokens. With segregated admin accounts, this attack would have been reduced in impact – You can’t log into a cloud only global admin account with an ADFS token.

If you’re on the fence about this control because it may seem inconvenient for day to day operations, consider the following.
Good identity controls are automatic
As you spend more time investing into advanced identity capability, you will notice that operational overhead for identity should decrease. It might start out challenging, but over time you will rely less on highly privileged roles such as global administrator.
4. Configure and monitor break glass accounts
Setting up Privileged Access management is an important process, and perhaps one of the most critical step within this process is to have a plan for when things go wrong. It’s ok to admit it. Everyone makes mistakes. Services have outages or sometimes you just click the wrong button. A break glass account is your magical get out of jail card for these exact scenarios. If you don’t spend two minutes to set these up, you will definitely curse when you find them missing.
There is a couple things you should keep in mind when creating break glass accounts. Firstly, how will this access be stored and secured? Organisations may opt to vault credentials in a password manager, print passwords for physical storage in a safe, or have two “keepers” who each retain half of the password (nuclear launch code style). In my opinion, the best action for break glass credentials is to go password less. Spend the money and get yourself a FIDO2 compliant hardware key such as those from Yubico or Feitian. Store this hardware key somewhere safe and you’re home free – NO password management overhead and hyper secure sign in for these accounts.
The second thing to keep in mind for break glass accounts is: They should NOT be used. As these accounts are generic, tied to the business and not a user, there isn’t always a method to attribute actions that a break glass account takes to a specific employee. This is a challenge for insider threat scenarios. If all your administrators have access to the account, how are you to know who intentionally deleted all your files with the account when they had really bad day?
Securely storing credentials for a break glass account is the first method which you prevent this happening, but the second is to alert on usage. If your business process somehow fails and the credentials leak, you have a rapid prompt by which lets you know something may be going wrong.
5. Privileged Identity Management
Azure AD Privileged Identity Management, PIM for short, focuses on applying approved administrative access within a time-boxed period. This works by automatically removing administrative access when not required, and requiring approval with strong authentication to re-activate the access. You can’t abuse an administrator account that has no admin privileges.

Good PIM implementations are generally backed by strong business process. At the end of the day, identity is a people centric technology. Sometimes real world process needs to be considered. The following tips should help you design a decent PIM implementation, keeping in mind your key stakeholders.
- Be pragmatic about Eligible vs Permanently assigned roles. Your corporate risk profile may allow some roles to be active all the time.
- Have multiple approvers for each role. What if someone has a day off? You don’t want to block the business because you haven’t got an approver available.
- Consider the time it takes you to execute a common task. If Admins have tasks which take two hours, but need to re-activate a role every hour, you’re simply adding frustration to peoples days.
- Build a data driven review process. PIM provides rich reporting on usage and activation of roles, so use this to remove or grant further access at a periodic interval.
Finally, Notice how the last item in this list is the only one that explicitly mentions privileged access in the name? This is because PIM provides the best benefit when used within a healthy and well-managed environment. In my opinion, taking the time to use your Azure AD P1 Features before paying extra for an Azure AD P2 feature is the best approach. Consider the Microsoft guidance and your own strategy before making that decision however.
Up Next
Thanks for sticking with me through this weeks guidance on Azure AD Basics If you’re after some more Privileged Access information, have a read of my strategy guidance, or stay tuned for more info on what can be done using Azure AD, including some tips and techniques to help you stay in control. Topics this series is covering are:
- Strategy & Planning
- Azure AD Basics (This Post)
- Hybrid Scenarios
- Networking & Zero Trust
- Protecting Identity
- Staying in Control
Until next time, stay cloudy!